

Unleashing your creativity through 3D layered paper craft designs is an exhilarating venture that combines artistry with meticulous craftsmanship. In this comprehensive guide, we will embark on a journey from the inception of an idea to the completion of a stunning 3D layered paper craft design. Buckle up as we explore the step-by-step process, from conceptualization to the finishing touches.
1. Inspiration and Conceptualization:
Every masterpiece begins with an idea. Allow your imagination to run wild and draw inspiration from various sources – nature, architecture, or even everyday objects. Sketch out your initial concept, envisioning the layers and dimensions that will bring your design to life.
2. Choosing the Right Design Software:
Before diving into the tangible creation, select the appropriate design software to translate your vision into a digital format. Software like Adobe Illustrator or Inkscape allows you to create intricate layered designs, providing the foundation for your paper craft project.

3. Creating the Digital Blueprint:
Utilize the design software to meticulously craft the digital blueprint of your 3D layered design. Each layer should be distinct, contributing to the overall depth and complexity. Consider the color scheme, shapes, and intricacies of each layer, ensuring a harmonious composition.
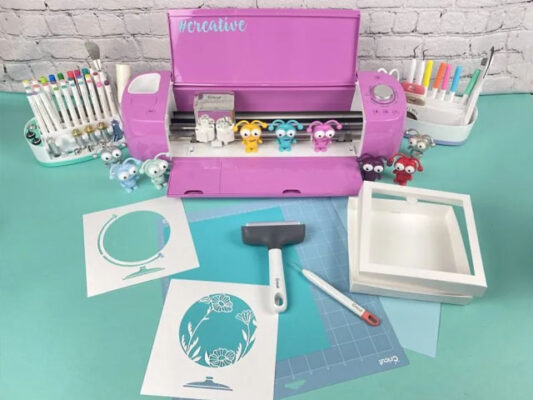
4. Print and Prepare Materials:
Once satisfied with the digital blueprint, it’s time to bring your design into the physical realm. Print each layer onto quality cardstock or paper. Gather additional materials such as precision cutting tools, a cutting mat, adhesive, and any embellishments you wish to incorporate.
5. Precision Cutting:
Carefully cut out each layer with precision using your chosen cutting tool. This step is crucial, as accuracy in cutting determines the alignment and coherence of the final 3D design. Exercise patience and attention to detail during this phase.
6. Layer Assembly:
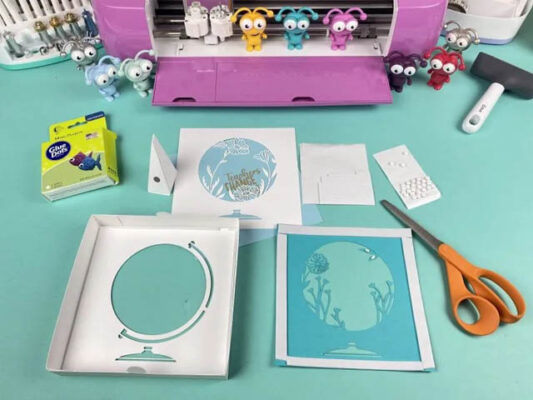
Assemble the layers in a strategic sequence, starting with the bottom layer and progressively adding subsequent layers. Apply adhesive meticulously to ensure a secure bond between layers. Consider using foam adhesive dots to create dimension between layers, enhancing the overall 3D effect.
7. Fine-Tuning and Refinement:
Step back and assess your assembled layers. Make any necessary adjustments to ensure symmetry and balance. This is the stage where you can add additional embellishments or refine intricate details to elevate the visual appeal of your 3D paper craft.
8. Base or Background Incorporation:
Decide whether your 3D layered papercraft design will have a base or background. This could be a shadow box, a framed display, or even a custom-built setting. The choice of a base enhances the presentation and provides context to your layered creation.
9. Securing the Layers:
Once satisfied with the arrangement, secure the layers firmly. Depending on your chosen base, use adhesive or pins to affix the layers in place. This step ensures the longevity of your papercraft design and prevents any unintended shifts.
10. Finalizing the Presentation:
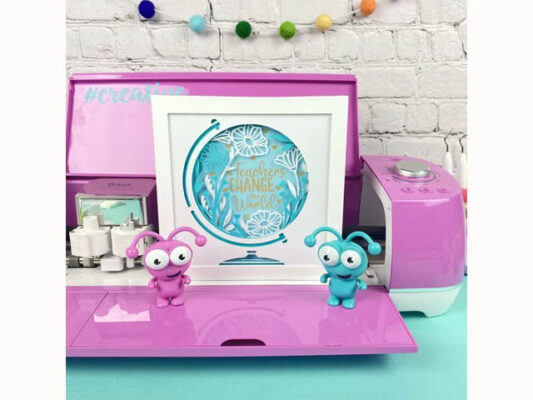
Consider the overall presentation of your 3D layered paper craft. If using a frame or shadow box, carefully position and secure your creation. Pay attention to lighting if your design incorporates shadows, as it can add an extra dimension to the visual impact.
11. Showcasing Your Creation:

Revel in the accomplishment of your meticulously crafted 3D layered paper design. Showcase your creation proudly – whether it’s displayed in your home, gifted to a friend, or shared with a broader audience through social media platforms.
Tips for Success
1. Experiment with Layers:
Don’t be afraid to experiment with different layering techniques. Varying the thickness and spacing of layers adds depth and visual interest to your design.
2. Choose Quality Materials:
Opt for high-quality paper or cardstock to ensure durability and a professional finish. The choice of materials significantly influences the final outcome.
3. Patience is Key:
Crafting a 3D layered paper design requires patience and precision. Take your time during each step, from cutting to assembly, to achieve the best results.
4. Embrace Creativity:
Allow your creativity to flourish. Incorporate unique elements, experiment with colors, and add personal touches to make your design stand out.
5. Share and Connect:
Share your 3D papercraft designs with the crafting community. Engage with fellow enthusiasts, seek feedback, and draw inspiration from the diverse world of paper crafting.
In conclusion, the journey from conceptualization to completion of a 3D layered papercraft design is a rewarding exploration of creativity and craftsmanship. Each step, from the initial idea to the final presentation, contributes to the narrative of your creation. Embrace the process, celebrate the intricacies, and revel in the satisfaction of bringing your vision to life through the artistry of layered paper crafting.